
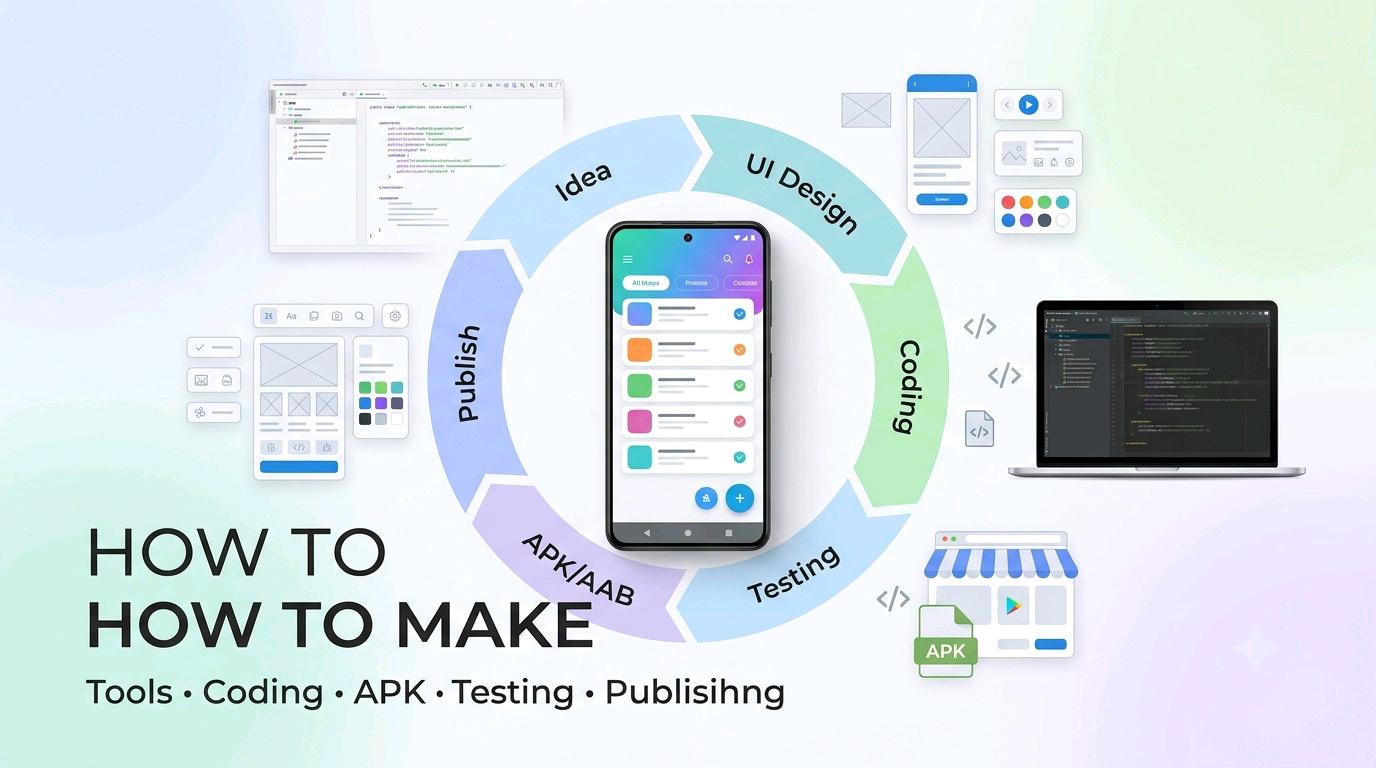
From app idea to design, coding, testing, APK/AAB creation, and publishing.
Want to create your own Android app but don't know where to make an app, which software to use, or how to put an app on an Android phone? This complete guide explains the main app-building options, from beginner-friendly no-code tools to professional Android development.
How to Make an Android App: Best Tools, Steps, APK, Testing & Publishing
How Are Android Apps Made?
An Android app is normally created using an app development environment, programming language or visual blocks, design tools, Android libraries, and testing tools. The exact process depends on the type of app you want to build.
For professional native Android development, Android Studio is the main development environment. Google's current Android learning materials use Kotlin and Jetpack Compose for modern Android development. Android Studio also provides project templates and tools for building and testing apps.
Where Can You Make an Android App?
There are several ways to create an Android application. The best choice depends on your experience, the type of app, and whether you want to learn programming.
| Tool / Platform | Best For | Coding Level |
|---|---|---|
| Android Studio + Kotlin | Professional native Android apps | Intermediate to advanced |
| Jetpack Compose | Modern Android user interfaces | Requires Kotlin |
| MIT App Inventor | Beginners and simple apps | Low / block-based |
| Flutter | Cross-platform applications | Programming required |
MIT App Inventor is particularly useful for beginners because it uses a web-based Designer and visual Blocks Editor instead of requiring traditional text-based programming for basic projects.
Android Studio: The Professional Choice
Android Studio is the main development environment you should consider if you want to learn serious Android app development.
With Android Studio, you can create projects, write Kotlin code, design interfaces, run your application, inspect errors, test different screen sizes, and prepare release builds.
Google's Jetpack Compose documentation recommends Android Studio for the Compose development experience and provides project templates for starting a new Compose app.
What Do You Need for Android Studio?
- A compatible computer.
- Android Studio.
- Basic Kotlin knowledge.
- Android SDK and required development components.
- An Android phone or emulator for testing.
- Enough storage and memory for development tools and projects.
What Is Kotlin?
Kotlin is a programming language widely used for modern Android development. If you choose Android Studio for serious Android development, learning Kotlin is one of the most useful first steps.
You do not need to learn every Kotlin feature before creating your first project. Start with variables, functions, conditions, lists, classes, null safety, and basic object-oriented concepts, then gradually learn Android-specific development.
What Is Jetpack Compose?
Jetpack Compose is a modern toolkit for building Android user interfaces. Instead of relying entirely on traditional XML-based layouts, Compose lets developers describe the UI using Kotlin code.
Android's official documentation provides dedicated Compose tutorials and recommends using Android Studio for creating and previewing Compose interfaces.
Can You Make an Android App Without Coding?
Yes. For simple projects, visual app-building platforms can reduce or eliminate the need to write traditional programming code.
MIT App Inventor is one example. It allows you to create apps using a browser-based Designer and Blocks Editor. You can test an app on a connected phone or emulator while building it.
What Can You Make With a Beginner Tool?
- Simple calculators.
- Notes and list applications.
- Basic educational apps.
- Simple quiz applications.
- Small utility applications.
- Simple information-based apps.
As the application becomes more complex—for example, advanced authentication, large databases, sophisticated animations, complex background processing, or highly customized interfaces—you may eventually benefit from traditional programming tools.
How to Make Your First Android App Step by Step
Step 1: Choose a Small App Idea
Your first project should be simple. Instead of trying to build a huge social network or complicated marketplace, start with something that can be completed in a manageable number of screens.
A calculator, checklist, simple notes app, unit converter, quiz app, or basic information app can be a useful learning project.
Step 2: Plan the Screens
Before coding, decide what screens the app needs. Write down the buttons, text, images, menus, and actions that users will see.
Step 3: Create the Project
In Android Studio, start a new Android project and choose an appropriate template. For a new Compose project, Android's official setup documentation describes using an Empty Activity template and Kotlin.
Step 4: Build the User Interface
Create your app's buttons, text fields, lists, navigation, images, colors, and other interface elements. Keep the design simple and make sure the text is readable on smaller screens.
Step 5: Add the App Logic
The interface is only one part of an application. You also need logic that determines what happens when users tap buttons, enter information, navigate between screens, or perform other actions.
Step 6: Add Data Storage if Needed
If your app needs to remember information, you may need local storage or a remote database. The correct choice depends on the application.
Step 7: Test the App
Test the application repeatedly. Check buttons, navigation, screen rotation where relevant, different screen sizes, empty fields, incorrect input, slow connections, and other situations that could cause errors.
How Can You Test an Android App?
You can test an app using an Android phone or an emulator. Testing on a physical device is especially useful because real devices can behave differently from an emulator.
MIT App Inventor also supports live testing with a connected device, including Wi-Fi-based testing using its Companion app.
What Is an APK?
An APK is an Android application package that can be installed on compatible Android devices. Developers commonly use APK files for testing or certain direct-install distribution scenarios.
For example, MIT App Inventor can package an Android project as an APK that can be installed on a phone or tablet.
What Is an AAB?
An Android App Bundle (AAB) is a publishing format used for distributing Android apps through Google Play. For Google Play releases, the app bundle is the preferred format according to Google's current publishing guidance.
| Format | Common Use |
|---|---|
| APK | Direct installation and certain testing/distribution situations. |
| AAB | Preferred publishing format for Google Play releases. |
How to Build Your Android App
Once your app is complete and tested, you need to create a release build. Before distributing an app, developers should review the application ID, version information, permissions, signing configuration, and other release settings.
For Flutter Android releases, the official documentation also covers signing, building app bundles and APKs, and preparing an app for Google Play.
Development Build vs Release Build
A development build is primarily used while creating and testing the application. A release build is prepared for distribution and should be tested carefully before being shared publicly.
How to Put an Android App on Google Play
Publishing an app is different from simply installing an APK on your own phone. A public release requires a properly configured release build and compliance with the current Google Play requirements.
The general process is:
- Create and test the application.
- Prepare the release configuration.
- Set the app's name, icon, version, and application details.
- Generate the appropriate release package.
- Prepare the store listing and required information.
- Complete the required developer and app declarations.
- Upload the release to Google Play Console.
- Complete testing and review requirements that apply to your account and app.
- Submit the app for review and publication according to the current Play process.
Google Play requirements can change, so always check the current official Play documentation before publishing.
Can MIT App Inventor Apps Be Published?
Yes. MIT's documentation states that applications built with App Inventor can be uploaded to Google Play. The app needs appropriate version information, and the project can be packaged for distribution.
What Should You Learn to Become an Android App Developer?
1. Programming Basics
Learn variables, functions, conditions, loops, collections, classes, and basic error handling.
2. Kotlin
Learn Kotlin fundamentals and gradually move into Android-specific programming.
3. UI Design
Learn layouts, typography, navigation, accessibility, responsive design, and Jetpack Compose.
4. Data
Learn how applications store information locally and communicate with online services when required.
Android App Development Tools: Which One Should You Choose?
| Your Goal | Recommended Starting Point |
|---|---|
| I have never coded. | Start with MIT App Inventor and learn basic programming concepts. |
| I want professional Android skills. | Android Studio + Kotlin + Jetpack Compose. |
| I want to explore cross-platform development. | Flutter is one option to study. |
| I want a simple personal utility app. | A visual app builder may be enough. |
How Much Does It Cost to Make an Android App?
The cost can range from very little for a simple learning project to substantial amounts for a professional commercial application. The major factors include development tools, design, backend services, databases, testing, hosting, maintenance, and distribution requirements.
If you build the application yourself using freely available development tools, your direct software costs can be much lower. However, a commercial application may still require ongoing expenses for infrastructure, services, maintenance, design, testing, and distribution.
Common Mistakes Beginners Make
Starting With a Huge Project
Build a small application first. Completing one simple project is often more useful for learning than starting a huge project and abandoning it halfway through.
Ignoring Testing
An app that works on one device may still have problems on another screen size, Android version, or hardware configuration.
Using Too Many Features
Every additional feature increases development and testing requirements. Start with the core function and add features gradually.
Not Planning the Interface
A simple sketch of the screens before development can save time and reduce confusion.
Forgetting Maintenance
Publishing an app is not the end of development. Apps may need bug fixes, compatibility updates, security improvements, and feature changes.
More Gadgets Tips
- Loading gadget articles...
Simple Roadmap for Learning Android Development
A good learning strategy is to move from small projects to increasingly complex applications. First make a screen, then add interaction, then data, then networking, testing, and finally release preparation.
Frequently Asked Questions About Android App Development
Can I make an Android app without coding?
Yes. Tools such as MIT App Inventor allow beginners to create applications using visual blocks. More advanced applications usually benefit from traditional programming skills.
What is the best software for Android app development?
For professional native Android development, Android Studio with Kotlin and Jetpack Compose is a strong starting point. Google's Android documentation provides official tutorials and project templates for this approach.
Can I make an Android app on a phone?
Some beginner platforms support browser-based app creation and phone-based testing. For professional Android development, a computer running Android Studio is the more suitable environment.
What is the difference between APK and AAB?
APK is an Android application package commonly used for direct installation and testing. AAB is an app bundle format used for distribution through Google Play, where the app bundle is the preferred publishing format.
Can an MIT App Inventor app be installed on Android?
Yes. MIT App Inventor can package projects as Android APK files that can be installed on compatible Android devices.
Can an MIT App Inventor app be published on Google Play?
Yes. MIT provides documentation explaining how App Inventor applications can be prepared and uploaded to Google Play.
Should a beginner learn Kotlin?
If your goal is professional Android development, learning Kotlin is a useful choice because modern Android development with Jetpack Compose uses Kotlin.
What should my first Android app be?
Start with a small project such as a calculator, notes app, quiz, checklist, converter, or simple information app. The goal should be to finish a complete project and learn from it.
Final Conclusion
Making an Android app is much more accessible today than it may first appear. The right tool depends mainly on your experience and the type of application you want to create.
If you are completely new to app development, a visual platform such as MIT App Inventor can be a simple way to understand screens, components, events, and basic app logic. MIT describes App Inventor as a web-based development platform with a Designer and visual Blocks Editor.
If you want to learn professional Android development, a strong path is Android Studio + Kotlin + Jetpack Compose. Google's official Android documentation provides current learning materials for this workflow.
Start small, test your application carefully, learn from errors, and gradually add more advanced features. Once your app is ready, prepare the appropriate release package and follow the current distribution requirements for the platform where you want to publish it.